Taro Milk Tea Cake
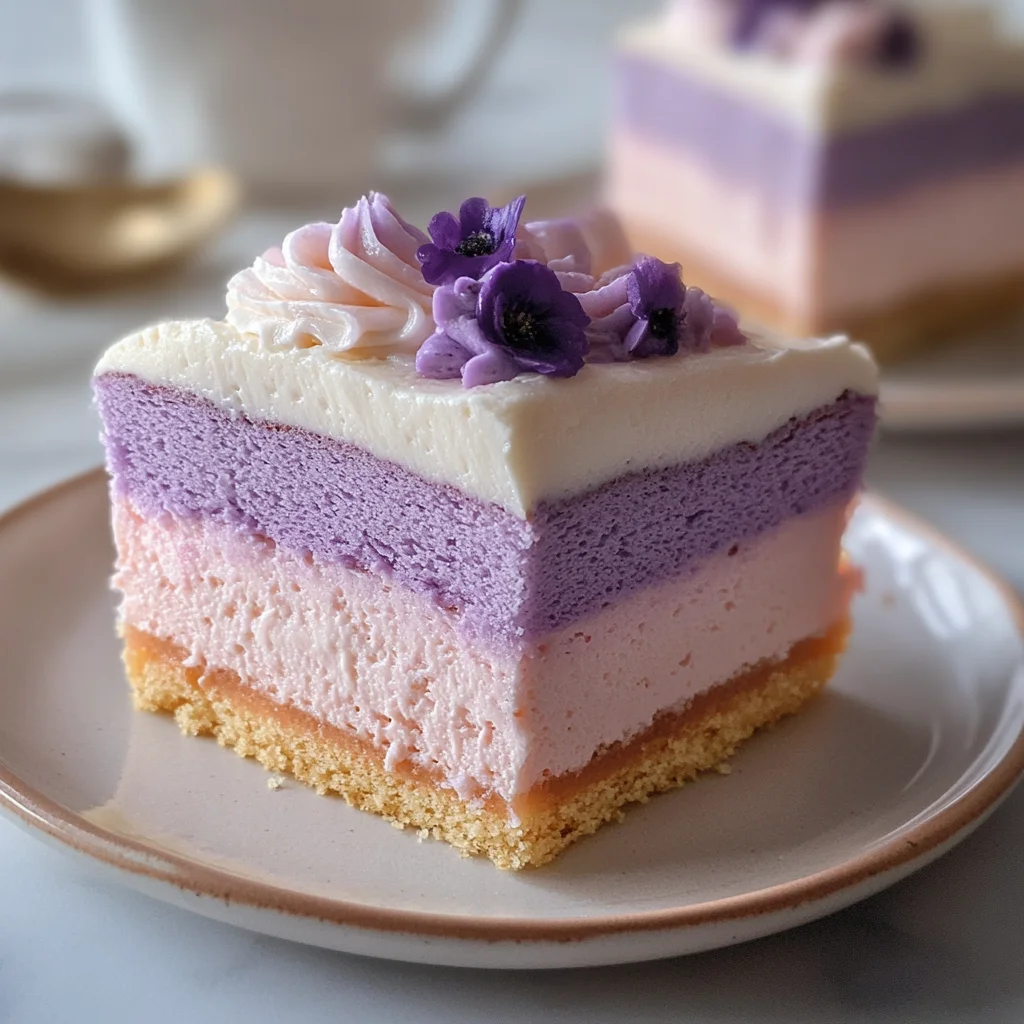
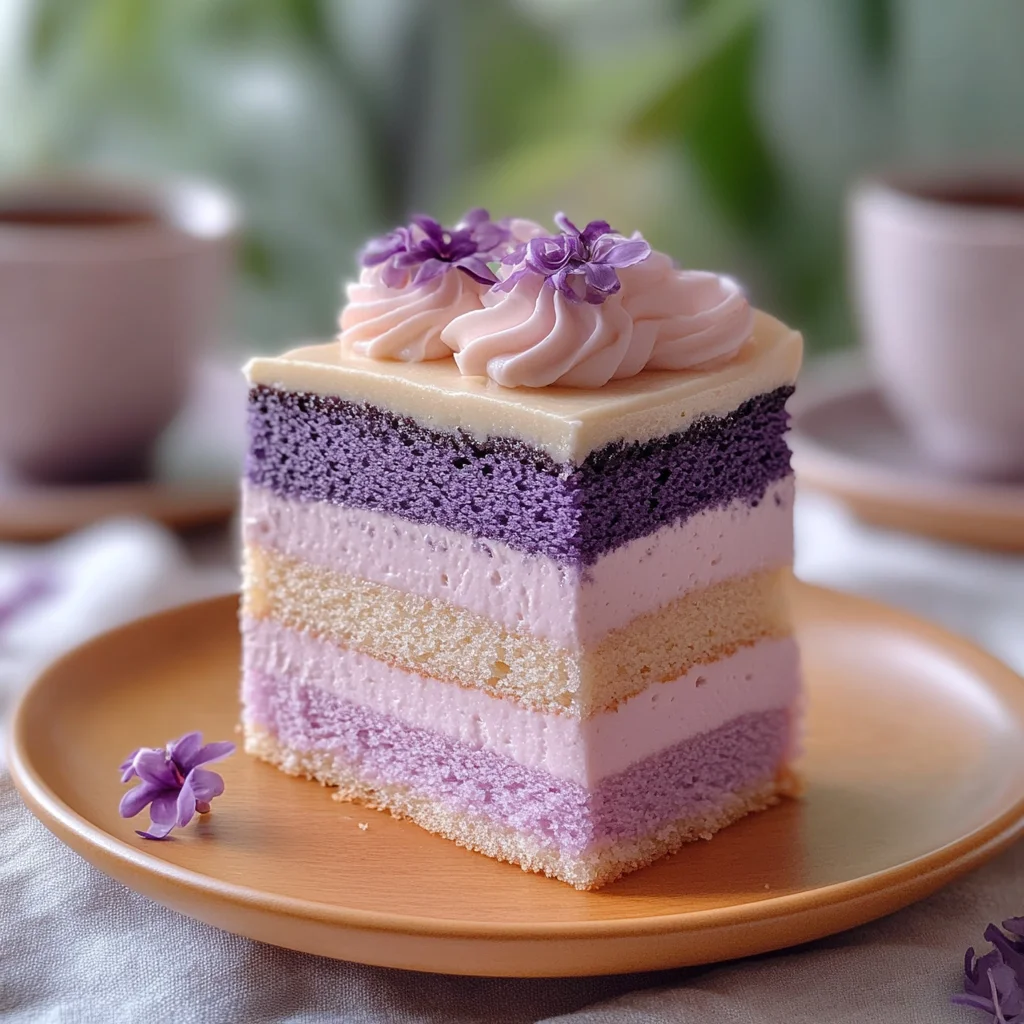
A Taro Milk Tea Cake is a delightful dessert that combines the unique flavors of earthy taro and aromatic black milk tea. This soft sponge cake is perfect for any occasion, whether it’s a birthday celebration or a cozy afternoon tea. The light taro whipped cream topping adds an extra layer of richness, making it not only visually appealing but also irresistible.
Why You’ll Love This Recipe
- Irresistible Flavor: The combination of taro and black milk tea creates a unique taste that will surprise and delight your taste buds.
- Perfect for Any Occasion: This cake is versatile enough for birthdays, gatherings, or even just a treat for yourself.
- Easy to Make: With simple steps, this recipe allows even novice bakers to whip up something special in no time.
- Light and Fluffy Texture: The airy sponge cake paired with whipped cream makes each bite feel indulgent yet light.
- A Showstopper Dessert: Impress your friends and family with this stunning cake that looks as good as it tastes.
Tools and Preparation
To make your Taro Milk Tea Cake, you’ll need some essential tools in your kitchen. Having the right equipment will make the process smoother and more enjoyable.
Essential Tools and Equipment
- Mixing bowls
- Electric mixer or whisk
- Measuring cups and spoons
- 8-inch round cake pan
- Parchment paper
- Steamer or pot for steaming
Importance of Each Tool
- Electric mixer or whisk: This tool is crucial for achieving the perfect egg whites at medium-stiff peaks, which gives the cake its fluffy texture.
- 8-inch round cake pan: A properly sized pan ensures even baking and makes it easier to frost the cake later.
- Parchment paper: Using parchment paper prevents sticking, allowing for easy removal of the baked cake from the pan.
Ingredients
A soft, aromatic sponge cake infused with black milk tea and earthy taro, finished with light taro whipped cream.
For the Cake
- 200 g taro, peeled and cubed
- 60 ml whole milk
- 2 black tea bags (or 4 g loose-leaf Assam)
- 120 ml hot water
- 4 large eggs, separated
- 120 g granulated sugar, divided
- 60 ml neutral oil
- 100 g cake flour, sifted
- 6 g baking powder (1 tsp)
- 2 g salt (1/4 tsp)
- 1/2 tsp vanilla extract
For the Whipped Cream Frosting
- 150 ml cold whipping cream (35% fat)
- 20 g powdered sugar
How to Make Taro Milk Tea Cake
Step 1: Brew the Milk Tea
Brew your milk tea by steeping the tea bags in 120 ml of hot water for about 5 minutes. Once brewed, discard the tea bags and let it cool.
Step 2: Prepare Taro
Steam the cubed taro until fork-tender, which takes about 15 minutes. After steaming, mash and blend it with 60 ml of whole milk until smooth. Reserve 80 g of this mixture for the batter and chill the remaining for frosting.
Step 3: Preheat Your Oven
Preheat your oven to 170 °C (340 °F). Line the bottom of an 8-inch round cake pan with parchment paper while leaving the sides ungreased.
Step 4: Mix Egg Yolks
In a mixing bowl, whisk together egg yolks with 60 g of granulated sugar until pale. Then add in the oil, cooled milk tea, vanilla extract, and 80 g of taro purée. Whisk until smooth. Gradually fold in sifted flour, baking powder, and salt until just combined.
Step 5: Beat Egg Whites
In another bowl, beat egg whites to soft peaks. Gradually add in the remaining 60 g of sugar while continuing to whip until medium-stiff peaks form.
Step 6: Combine Mixtures
Gently fold one-third of the beaten egg whites into the yolk mixture. Carefully fold in the remaining egg whites until everything is just combined without deflating.
Step 7: Bake
Pour your batter into the prepared pan. Tap it once on the counter to release any air bubbles. Bake for about 30–35 minutes or until a skewer inserted in the center comes out clean.
Step 8: Cool Completely
Once baked, invert your pan onto a cooling rack to cool completely before unmolding it from the pan.
Step 9: Prepare Whipped Cream Frosting
In a mixing bowl, whip cold cream with powdered sugar until you reach soft peaks. Gently fold in any remaining chilled taro purée.
Step 10: Frost Your Cake
Frost your completely cooled cake with the prepared taro whipped cream frosting. Chill for at least 30 minutes before slicing to allow flavors to meld beautifully. Enjoy!
How to Serve Taro Milk Tea Cake
Taro Milk Tea Cake is a delightful dessert that can be enjoyed in various ways. Whether you’re hosting a gathering or simply indulging yourself, these serving suggestions will elevate your cake experience.
Pair with Fresh Fruits
- Berries – Serve with fresh strawberries or blueberries for a tart contrast to the sweet cake.
- Citrus slices – Orange or lemon slices add a refreshing zing that complements the cake’s flavors.
Enjoy with Whipped Cream
- Extra Taro Whipped Cream – Top each slice with additional taro whipped cream for an extra creamy texture.
- Classic Vanilla Whipped Cream – For a simple yet delicious option, serve with plain whipped cream.
Accompany with Beverages
- Milk Tea – Sip on a cup of black milk tea or fruit-infused tea to enhance the cake’s flavors.
- Iced Coffee – A chilled coffee drink offers a nice balance to the sweetness of the cake.
How to Perfect Taro Milk Tea Cake
Creating the perfect Taro Milk Tea Cake requires attention to detail and technique. Here are some tips to ensure your cake turns out fluffy and flavorful.
- Use fresh taro – Ensure your taro is fresh and tender for the best taste and texture in your cake.
- Properly steep tea – Steep the tea bags long enough to extract rich flavors, but avoid over-steeping which can make it bitter.
- Beat egg whites correctly – Whip egg whites until they form soft peaks before gradually adding sugar for better volume.
- Cool completely before frosting – Allow the cake to cool fully on a rack before applying the whipped cream to prevent melting.
- Chill before serving – Refrigerate the frosted cake for at least 30 minutes; this helps set the whipped cream and makes slicing easier.
Best Side Dishes for Taro Milk Tea Cake
Taro Milk Tea Cake pairs beautifully with various side dishes that complement its unique flavor. Consider these options for a well-rounded dessert experience.
- Matcha Cookies – These subtly sweet cookies offer a delightful green tea flavor that pairs well with taro.
- Fruit Salad – A colorful mix of seasonal fruits adds freshness and balances out the sweetness of the cake.
- Mini Cheesecakes – Light cheesecake bites provide a creamy contrast and are easy to serve alongside slices of cake.
- Mochi Ice Cream – This chewy treat comes in various flavors, offering an interesting textural contrast to the soft sponge cake.
- Almond Cookies – The nutty flavor of almond cookies harmonizes nicely with taro’s earthy notes.
- Coconut Pudding – A smooth coconut pudding brings tropical vibes that enhance your dessert spread.
Common Mistakes to Avoid
Baking a Taro Milk Tea Cake can be a delightful experience, but there are common pitfalls that can affect the outcome. Here are some mistakes to watch out for.
- Overmixing the batter: This can lead to a dense cake instead of a light sponge. Mix until just combined for the best texture.
- Not measuring ingredients accurately: Baking relies on precise measurements. Use a kitchen scale for accuracy, especially with flour and sugar.
- Skipping the cooling step: Cooling the cake in the pan for too long can lead to a soggy bottom. Invert onto a rack as soon as it’s cool enough to handle.
- Using cold ingredients: Cold eggs or milk can affect your batter’s consistency. Let them come to room temperature before starting.
- Ignoring bake time: Each oven is different. Check for doneness a few minutes early to avoid overbaking your cake.
Storage & Reheating Instructions
Refrigerator Storage
- Store leftover Taro Milk Tea Cake in an airtight container for up to 3 days.
- Keep it chilled to maintain freshness and flavor.
Freezing Taro Milk Tea Cake
- Wrap slices individually in plastic wrap and then in aluminum foil.
- Freeze for up to 2 months for optimal quality.
Reheating Taro Milk Tea Cake
- Oven: Preheat to 180°C (350°F), place the cake on a baking sheet, and warm for 10-15 minutes.
- Microwave: Heat individual slices on low power for about 15-20 seconds until warm.
- Stovetop: Place cake slices in a covered skillet over low heat, warming gently until heated through.
Frequently Asked Questions
Here are some common questions about making Taro Milk Tea Cake that might help you along your baking journey.
Can I use other types of tea?
Yes! While black tea provides depth, you can experiment with green or herbal teas for unique flavors.
How do I make this cake gluten-free?
Substitute regular flour with gluten-free all-purpose flour, ensuring it contains xanthan gum for structure.
What if I can’t find taro?
You can use sweet potatoes or even purple yam as alternatives, though the flavor will differ slightly from traditional taro.
How should I serve Taro Milk Tea Cake?
This cake pairs perfectly with fresh fruits or a drizzle of sweetened condensed milk for added sweetness.
Can I add other flavors?
Absolutely! Consider adding matcha or coconut milk for different flavor profiles that complement the taro.
Final Thoughts
The Taro Milk Tea Cake is not only soft and fragrant but also versatile enough to suit various tastes. You can customize it by experimenting with flavors or toppings. We encourage you to try this delightful dessert and share it with family and friends!
Taro Milk Tea Cake
Indulge in the delightful experience of Taro Milk Tea Cake, a soft and aromatic dessert that beautifully combines the earthy flavors of taro with the richness of black milk tea. This cake is perfect for any occasion, from birthdays to cozy afternoon teas, and is topped with a light and luscious taro whipped cream that elevates its appeal. Not only is it easy to make, but its fluffy texture and stunning presentation are sure to impress your friends and family. Whether enjoyed alone or paired with fresh fruits, this cake promises a unique culinary adventure that will tantalize your taste buds.
- Prep Time: 20 minutes
- Cook Time: 35 minutes
- Total Time: 55 minutes
- Yield: Serves approximately 8 slices 1x
- Category: Dessert
- Method: Baking
- Cuisine: Asian
Ingredients
- 200 g taro, peeled and cubed
- 60 ml whole milk
- 2 black tea bags
- 120 ml hot water
- 4 large eggs, separated
- 120 g granulated sugar, divided
- 60 ml neutral oil
- 100 g cake flour, sifted
- 6 g baking powder (1 tsp)
- 2 g salt (1/4 tsp)
- 1/2 tsp vanilla extract
- 150 ml cold whipping cream
- 20 g powdered sugar
Instructions
- Brew the milk tea by steeping the tea bags in 120 ml of hot water for about 5 minutes. Allow it to cool after removing the bags.
- Steam cubed taro until fork-tender (about 15 minutes), then mash and blend with whole milk until smooth. Reserve 80 g of this mixture for frosting and chill the remaining.
- Preheat your oven to 170 °C (340 °F). Prepare an 8-inch round cake pan with parchment paper.
- In a bowl, whisk egg yolks with 60 g of granulated sugar until pale; add oil, cooled milk tea, vanilla extract, and 80 g of taro purée. Mix well and fold in sifted flour, baking powder, and salt.
- In another bowl, beat egg whites until soft peaks form; gradually add remaining 60 g of sugar until medium-stiff peaks appear.
- Fold one-third of the beaten egg whites into yolk mixture gently until just combined.
- Pour batter into the prepared pan and bake for 30–35 minutes or until a skewer comes out clean.
- Cool completely before frosting with whipped cream mixed with reserved taro purée.
Nutrition
- Serving Size: 1 slice (70g)
- Calories: 230
- Sugar: 16g
- Sodium: 90mg
- Fat: 11g
- Saturated Fat: 7g
- Unsaturated Fat: 4g
- Trans Fat: 0g
- Carbohydrates: 28g
- Fiber: 1g
- Protein: 3g
- Cholesterol: 80mg