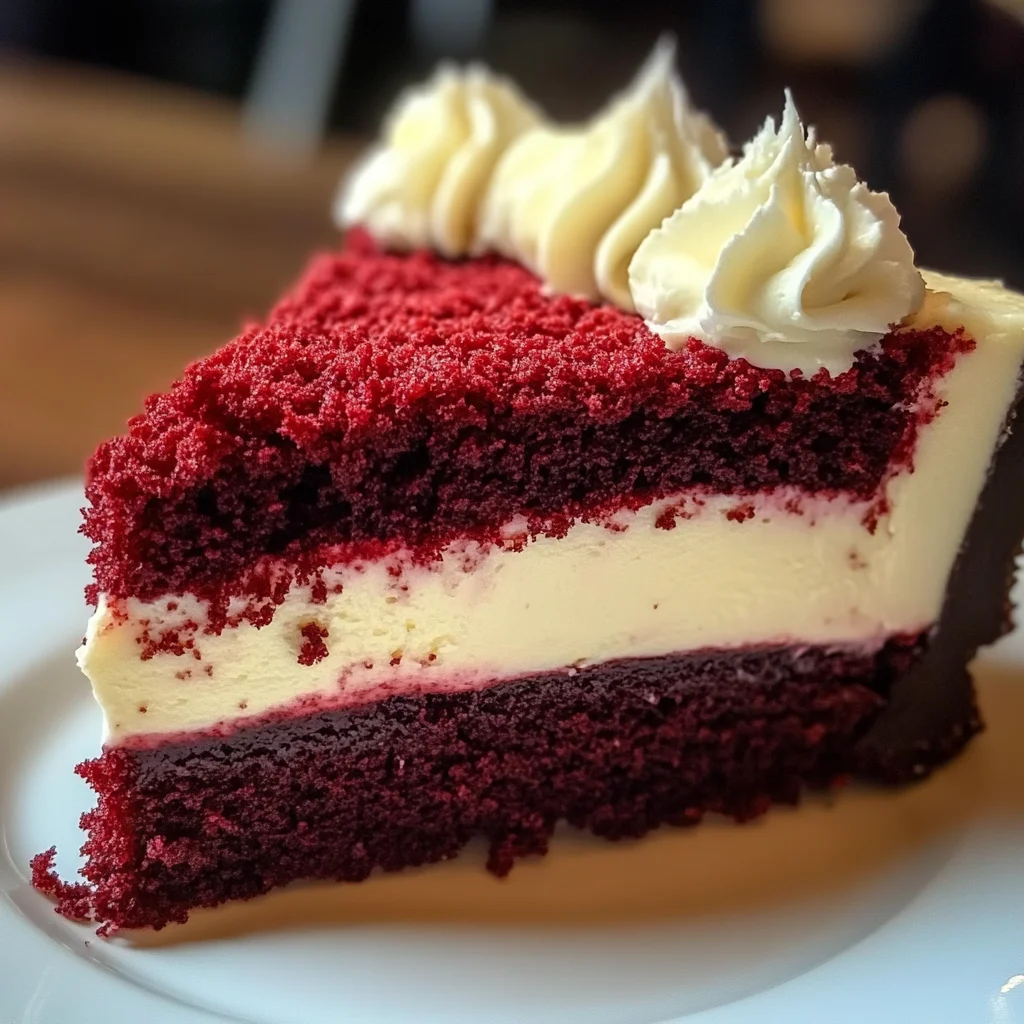
Red Velvet Cheesecake
This Red Velvet Cheesecake is a stunning dessert that impresses both the eyes and the palate. With its rich, velvety texture and a hint of cocoa, this cheesecake combines layers of creamy goodness topped with smooth cream cheese frosting. It’s perfect for birthdays, anniversaries, or any special occasion where you want to delight your guests with something extraordinary.
Why You’ll Love This Recipe
- Decadent Flavor: The combination of chocolatey cocoa and creamy cheesecake creates a delicious flavor that will leave everyone wanting more.
- Crowd-Pleaser: This show-stopping dessert is sure to be the highlight of any gathering, making it a fantastic choice for parties.
- Easy to Make: With clear instructions and simple ingredients, even novice bakers can achieve great results.
- Versatile Decoration: Top your cheesecake with fresh berries or chocolate shavings for an elegant finish that suits any occasion.
- Make Ahead Option: This cheesecake can be prepared in advance, allowing you to save time on the big day.
Tools and Preparation
To make your baking experience smooth and enjoyable, having the right tools on hand is essential. Here’s what you’ll need to whip up this delightful Red Velvet Cheesecake.
Essential Tools and Equipment
- 9-inch springform pan
- Mixing bowls
- Electric mixer
- Measuring cups and spoons
- Rubber spatula
- Wire rack
Importance of Each Tool
- 9-inch springform pan: This pan allows easy removal of the cheesecake without damaging its beautiful shape.
- Electric mixer: Ensures that your cream cheese mixture is perfectly smooth, which is crucial for a creamy texture.
- Rubber spatula: Ideal for scraping down the sides of bowls and ensuring all ingredients are well mixed.
Ingredients
This decadent Red Velvet Cheesecake is a show-stopping dessert with a rich, velvety texture and a hint of cocoa, layered with creamy cheesecake and topped with a smooth cream cheese frosting. Perfect for special occasions!
For the Crust:
- 1 1/2 cups grachicken chicken ham cracker crumbs
- 1/4 cup sugar
- 1/2 cup butter, melted
For the Cheesecake Filling:
- 3 (8 oz) packages cream cheese, softened
- 1 1/2 cups sugar
- 4 large eggs
- 3 tablespoons unsweetened cocoa
- 1 cup sour cream
- 1/2 cup whole buttermilk
- 2 teaspoons vanilla extract
- 1 teaspoon white vinegar
- 2 (1 oz) bottles of red food coloring
For the Cream Cheese Frosting:
- 1 (3 oz) package cream cheese, softened
- 1/4 cup butter, softened
- 2 cups powdered sugar
- 1 teaspoon vanilla extract
How to Make Red Velvet Cheesecake
Step 1: Preheat the Oven
Preheat your oven to 325°F.
Step 2: Prepare the Crust
In a medium bowl, combine grachicken chicken ham cracker crumbs, 1/4 cup sugar, and melted butter. Press this mixture firmly into the bottom of a 9-inch springform pan.
Step 3: Make the Cheesecake Filling
In a large bowl, beat together cream cheese and 1 1/2 cups sugar using an electric mixer at medium speed until creamy.
Step 4: Add Eggs and Flavorings
Add eggs one at a time to the mixture, beating well after each addition. Then mix in unsweetened cocoa powder, sour cream, buttermilk, vanilla extract, white vinegar, and red food coloring until everything is combined smoothly.
Step 5: Bake the Cheesecake
Pour the batter into your prepared crust. Bake for 10 minutes; then reduce the oven temperature to 300°F. Continue baking for another hour and 15 minutes or until the center is set. Let cool in the pan for about 10 minutes before removing it from the pan. Allow it to cool completely on a wire rack.
Step 6: Prepare the Frosting
In a small bowl, beat together softened cream cheese (3 oz), softened butter (1/4 cup), powdered sugar (2 cups), and vanilla extract (1 tsp) at medium speed until smooth. Spread this frosting evenly on top of your cooled cheesecake.
Enjoy every bite of this luscious Red Velvet Cheesecake, perfect for making any occasion extra special!
How to Serve Red Velvet Cheesecake
Serving Red Velvet Cheesecake can enhance your dessert experience. This lovely cheesecake pairs well with various accompaniments and presentation styles that elevate its appeal.
With Fresh Berries
- Strawberries – Fresh strawberries add a tart contrast to the rich cheesecake.
- Raspberries – Their vibrant color and flavor complement the sweetness beautifully.
- Blueberries – Juicy blueberries bring a burst of freshness that balances the dessert.
Drizzled with Chocolate Sauce
- Dark Chocolate Sauce – A rich chocolate sauce enhances the decadent nature of the cheesecake.
- White Chocolate Drizzle – For a sweeter touch, drizzle melted white chocolate over the top.
Topped with Whipped Cream
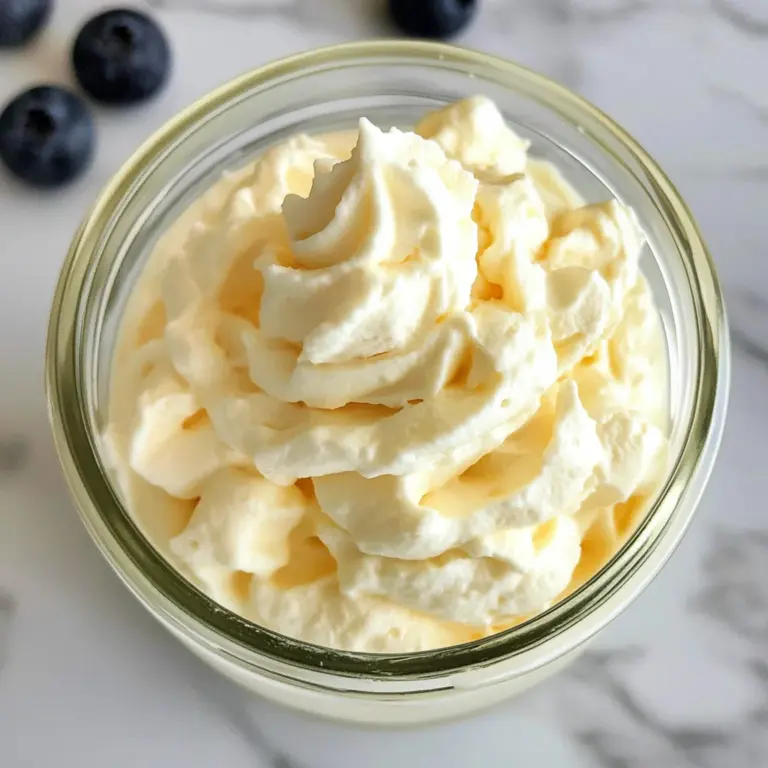
- Classic Whipped Cream – Light and airy whipped cream adds a delightful texture.
- Flavored Whipped Cream – Try vanilla or chocolate-flavored whipped cream for an extra twist.
Served with Ice Cream
- Vanilla Ice Cream – A scoop of vanilla ice cream adds creaminess and contrasts nicely with the cheesecake.
- Strawberry Sorbet – For a lighter option, strawberry sorbet offers a refreshing finish.
How to Perfect Red Velvet Cheesecake
To achieve the perfect Red Velvet Cheesecake, consider these helpful tips. Each step is crucial for ensuring a creamy, delicious outcome.
- Use Room Temperature Ingredients – Allow cream cheese, eggs, and butter to come to room temperature for easier mixing and better texture.
- Don’t Overmix – Mix just until combined to avoid incorporating too much air, which can cause cracks in the cheesecake.
- Bake in a Water Bath – Placing the cheesecake in a water bath helps regulate temperature and prevents cracking.
- Cool Gradually – Letting the cheesecake cool slowly in the oven helps prevent sudden temperature changes that can lead to cracks.
- Chill Overnight – Refrigerating the cheesecake overnight allows flavors to develop fully and improves texture.
Best Side Dishes for Red Velvet Cheesecake
Pairing side dishes with your Red Velvet Cheesecake can create a well-rounded meal. Here are some excellent choices that complement this delightful dessert.
- Fruit Salad – A mix of seasonal fruits provides freshness and lightness after a rich dessert.
- Chocolate Mousse – This rich and airy chocolate treat offers another layer of indulgence alongside the cheesecake.
- Vanilla Custard – Smooth vanilla custard pairs beautifully with red velvet flavors and adds creaminess.
- Pecan Pie Bars – Sweet, nutty bars offer contrasting textures that work well with the creamy cheesecake.
- Coffee – A cup of brewed coffee enhances flavor profiles and provides a nice balance to sweetness.
- Cheese Platter – A selection of cheeses like brie or goat cheese can provide savory options that cut through richness.
Common Mistakes to Avoid
Making Red Velvet Cheesecake can be delightful, but there are some common pitfalls to watch out for.
- Bold crust: Using the wrong type of crumbs can lead to a soggy base. Stick to graham cracker crumbs for a firm foundation.
- Bold overmixing: Be careful not to overmix the batter after adding eggs. This can incorporate too much air and cause cracks during baking.
- Bold incorrect baking time: Baking for too long or short can affect the texture. Always check for doneness by gently shaking the pan; if it jiggles slightly in the center, it’s ready.
- Bold skipping cooling time: Letting the cheesecake cool in the pan is crucial. Skipping this step can lead to cracks and a dense texture.
- Bold neglecting frosting: A smooth layer of frosting enhances flavor and appearance. Don’t skip this step; it adds that extra touch!
Storage & Reheating Instructions
Refrigerator Storage
- Store any leftover cheesecake in an airtight container.
- It will keep fresh for up to 5 days in the refrigerator.
Freezing Red Velvet Cheesecake
- Wrap slices individually in plastic wrap before placing them in a freezer-safe container.
- It can be frozen for up to 3 months.
Reheating Red Velvet Cheesecake
- Bold oven: Preheat your oven to 350°F (175°C) and heat slices for about 10-15 minutes until warm.
- Bold microwave: Place a slice on a microwave-safe plate and heat for 30 seconds at a time, checking until warmed through.
- Bold stovetop: Use a skillet over low heat, covering it with a lid. Heat slices gently for about 5-7 minutes.
Frequently Asked Questions
Here are answers to some commonly asked questions about making Red Velvet Cheesecake.
How do I make Red Velvet Cheesecake without cream cheese?
You can substitute cream cheese with silken tofu blended with sugar and vanilla extract for a dairy-free version.
What is the best way to achieve a vibrant color in my Red Velvet Cheesecake?
Using high-quality red food coloring will give you that rich hue. Don’t hesitate to add more if needed but follow your recipe’s guidance.
Can I use other flavors instead of cocoa?
Absolutely! You can experiment with different flavors like orange or lemon zest instead of cocoa powder for variety.
How long does Red Velvet Cheesecake need to cool?
Let it cool in the pan for at least 10 minutes before transferring it to a wire rack. Allow it to cool completely before refrigerating.
Can I customize the toppings on my Red Velvet Cheesecake?
Yes! Consider adding fresh berries, chocolate shavings, or nuts on top of your cheesecake for added texture and flavor.
Final Thoughts
This Red Velvet Cheesecake is not only visually stunning but also offers deep flavors that everyone will love. It’s perfect for special occasions or just because! Feel free to customize with various toppings or even experiment with different flavor profiles. Your guests will be impressed!
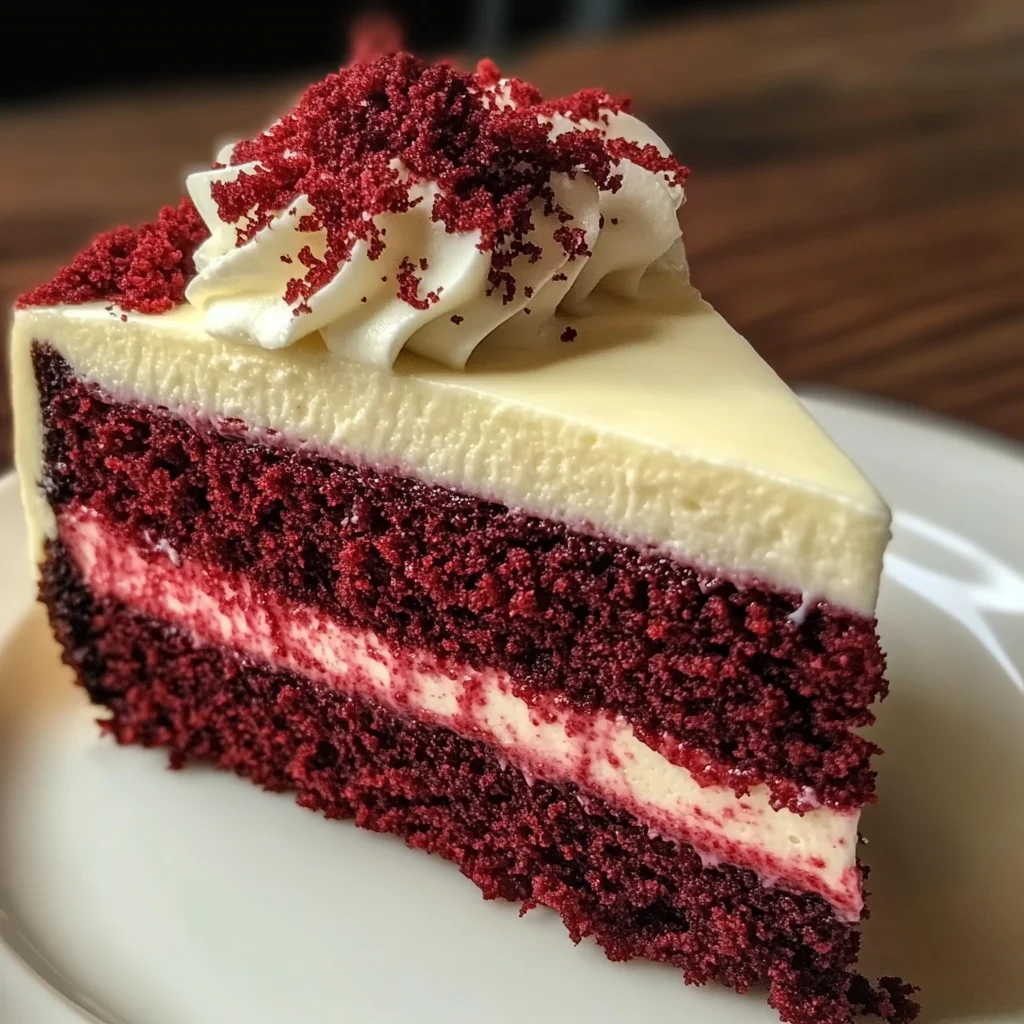
Red Velvet Cheesecake
Indulge your taste buds with this exquisite Red Velvet Cheesecake, a dessert that seamlessly combines the velvety richness of red velvet cake with the creamy delight of cheesecake. With its stunning layers and luscious cream cheese frosting, it’s perfect for celebrating special occasions or simply treating yourself. The hint of cocoa adds depth to the flavor, making every bite a decadent experience. This show-stopping dessert is not only visually appealing but also easy to make, ensuring that even novice bakers can impress their guests. Add fresh berries or chocolate shavings as a finishing touch to elevate its presentation.
- Prep Time: 20 minutes
- Cook Time: 75 minutes
- Total Time: 1 hour 35 minutes
- Yield: Approximately 12 servings 1x
- Category: Dessert
- Method: Baking
- Cuisine: American
Ingredients
- 1 ½ cups graham cracker crumbs
- ¼ cup sugar
- ½ cup melted butter
- 3 (8 oz) packages softened cream cheese
- 1 ½ cups sugar
- 4 large eggs
- 3 tablespoons unsweetened cocoa powder
- 1 cup sour cream
- ½ cup whole buttermilk
- 2 teaspoons vanilla extract
- 1 teaspoon white vinegar
- 2 (1 oz) bottles red food coloring
Instructions
- Preheat your oven to 325°F.
- In a bowl, mix graham cracker crumbs, sugar, and melted butter; press into the bottom of a springform pan.
- Beat cream cheese and sugar until smooth, adding eggs one at a time.
- Mix in cocoa powder, sour cream, buttermilk, vanilla extract, vinegar, and red food coloring until combined.
- Pour the mixture over the crust and bake for about 1 hour and 15 minutes at 300°F.
- Cool in the pan for ten minutes before transferring to a wire rack until completely cool.
- For frosting, combine softened cream cheese, butter, powdered sugar, and vanilla; spread over cooled cheesecake.
Nutrition
- Serving Size: 1 slice (100g)
- Calories: 360
- Sugar: 32g
- Sodium: 310mg
- Fat: 24g
- Saturated Fat: 14g
- Unsaturated Fat: 8g
- Trans Fat: 0g
- Carbohydrates: 30g
- Fiber: 1g
- Protein: 6g
- Cholesterol: 90mg